It has been very quiet on the blogging front – not just here, but on my other blogs as well.
The reason? The Treehouse Project.
This years ambitious pre-Christmas project was meant to be the panelling in the Assembly room, but when I realised that the 5 grand-kiddies were all going to be here for the Christmas holidays, I wanted to make sure they had a cosy space to sleep and play. Up to now they have basically been in a makeshift room with a half partition wall and no internal windows – a shell really.
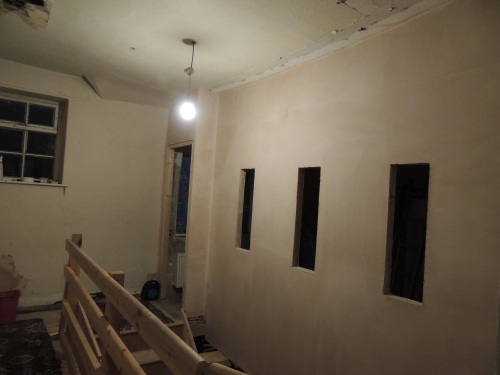
Inspiration to start (and finish) the project was largely as a result of a set of windows. No, really! I was trying to find a set of stained glass windows in the correct size and budget for the three tall, narrow windows in the room. My hunt lead me down a rabbit warren in which I got lost, dazed and confused….and found nothing in the correct size, and definitely not in the practically non-existent budget.
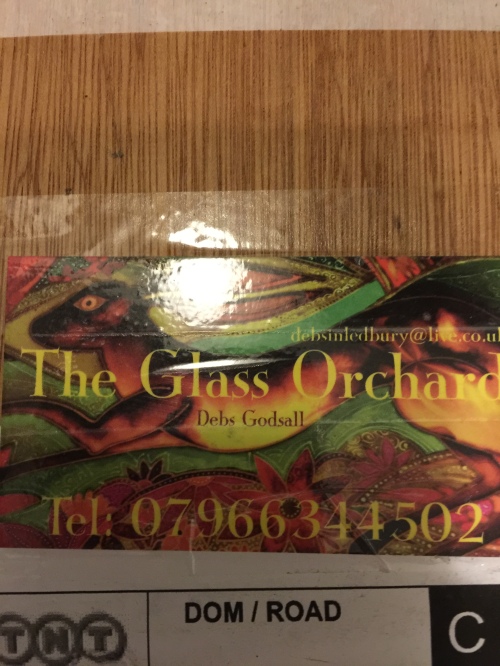
However, my search led me to the most amazingly talented glass artist – Debs Godsall or twitter. I immediately fell in love with her designs and not wanting to get my hopes up, I fired off an email enquiry asking how much three 80cm x 25cm glass windows would cost. I was over the moon when she responded with a price that I could justify, and I jumped in feet first and sent off a list of things that we love, colour preferences, location and what we would like to see incorporated into the design – for the rest, we let this amazingly talented lady create whatever inspired her – we had seen plenty of pictures of her work and loved it all – and we were not disappointed! More details on this in a later post.
I wanted to fit as many sleeping spaces as possible into the one room – not brilliant for long sleeps and late lie-ins, but ideal to save space and have a proper bed for everyone when they visit. My idea had always been to create a room with a forest theme and lovely wall murals, so this is what got the ball rolling.
I made a few very crude sketches on a scrap of paper and hubby headed off to buy the lumber for the project….

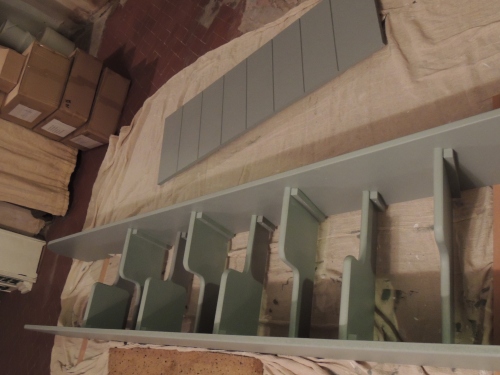
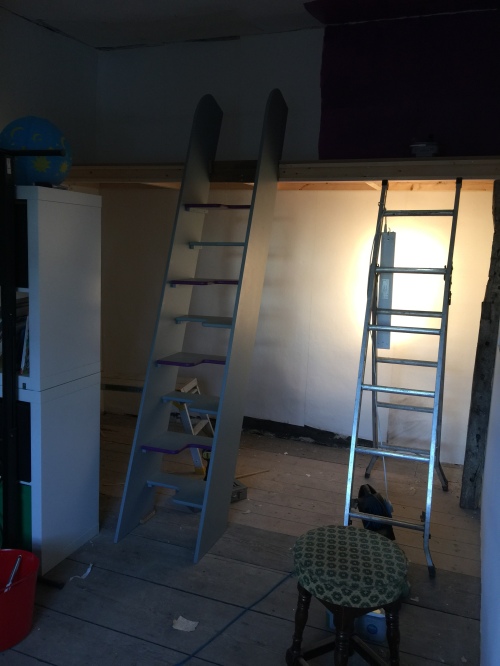
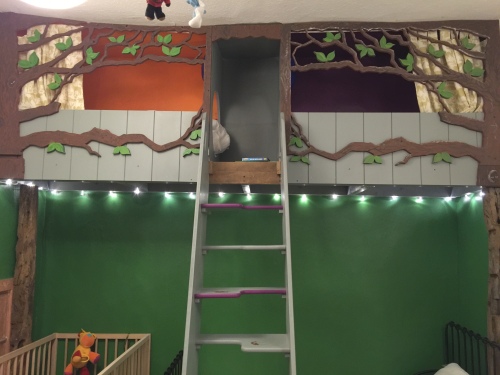
With nothing but the scraps of paper and the “plans” in my head, we got cracking. By the way, hubby loves everything planned and drawn to within an inch of its life, so this fly-by-the-seat-of-your-pants kind of project of mine really is totally out of his comfort zone. Firstly the hardest bit – the steps. We opted for space-saver steps rather than a ladder so that smaller children could also use it but it wouldn’t protrude too much into the room. We couldn’t afford to buy and so this was another thing sucked out of my brain and – well, just made on the fly…


Next was the bed base. A simple frame construction to hang from three walls and high up with access via the new steps.
Phew, they fit…..
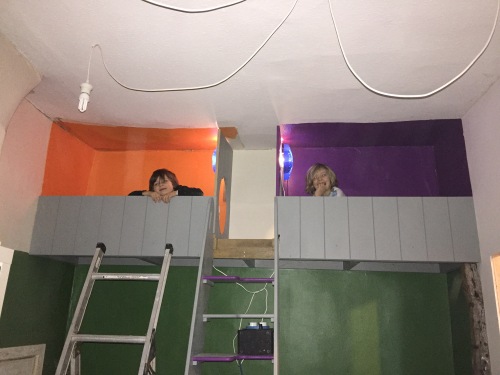
We used a french cleat to attach the stairs and allow them to be removed when necessary. Hubby did a great job routing out the sides and the ends of the treehouse to give a board effect. A bit of paint inside the treehouse before the sides are installed because otherwise we may not be able to reach later on. Two tree pods in the treehouse – pumpkin pod and plum pod. Below is the meadow on the left and the forest on the right…..
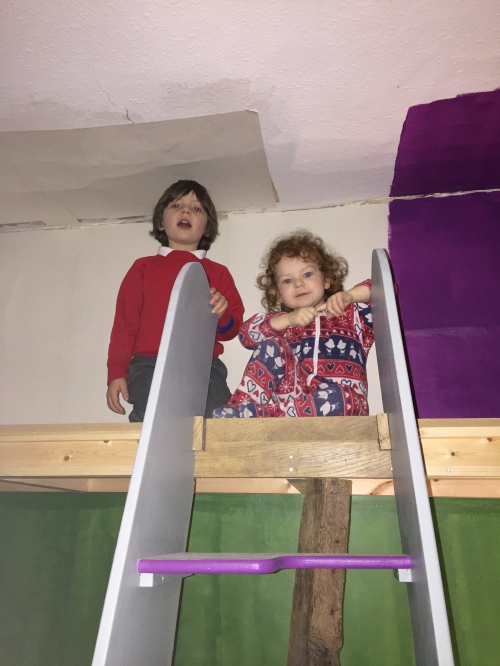
Here we have a couple of rather impatient tree dwellers who can’t wait for it to be completed….
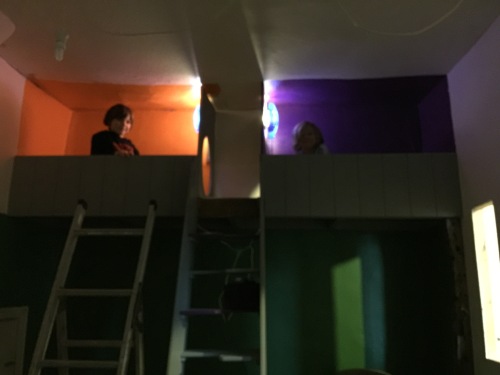
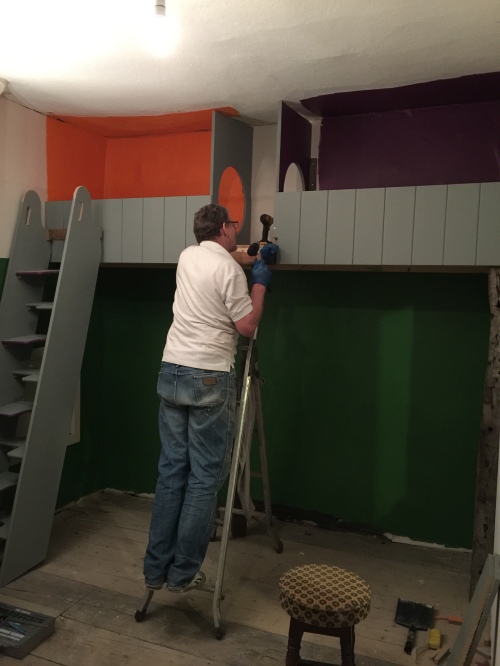
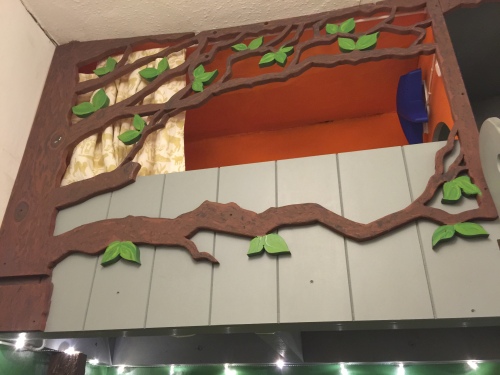
With the lights installed we are ready for the front panels…the trees, so I got cracking doing some drawing and trying to keep it simple enough to cut out with a jigsaw….


After a back breaking few hours hubby has finished off the cutting out and I have sanded the edges round. Here he is fitting them to our rather bowed ceiling! Crazy house were nothing is straight….


Daughter2 and I spent the next few days painting the trees ready for the installation. While they dried, we got onto the job of installing the windows. This was by FAR the most stressful part of the entire process. I was terrified that a nail would clip the edge of the glass and crack it or when the nails were being countersunk a hammer would smash them.
Hubby had previously ripped down some very old oak floorboards to make some frames for the windows; I had then waxed and polished them a few times. These were nailed into place on one side for the glass to rest against….
I was SO relieved when it all went without a hitch and they were finally safe in their new location. I am over the moon with how gorgeous they look – thank you Debs…


The panels are dry and can be installed. First though, we had to attach the curtain rod and curtains because of the tight space it was best carried out before installation.

Ta Da! We are done…..
Some fairy light across the bottom of the treehouse….
I made a matching Roman blind and pelmet out of the same fabric as the treehouse….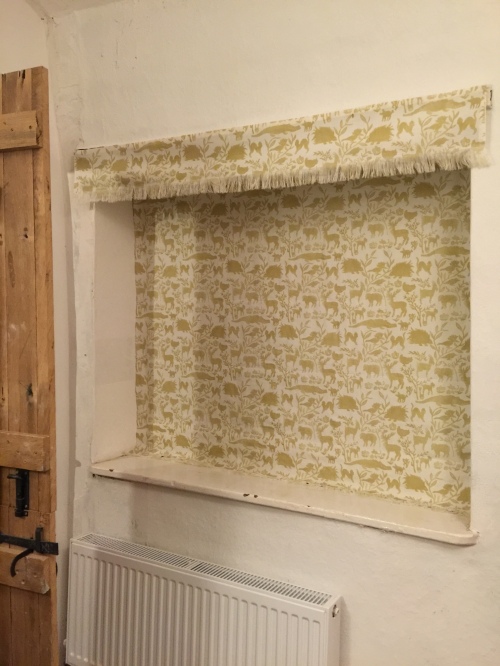
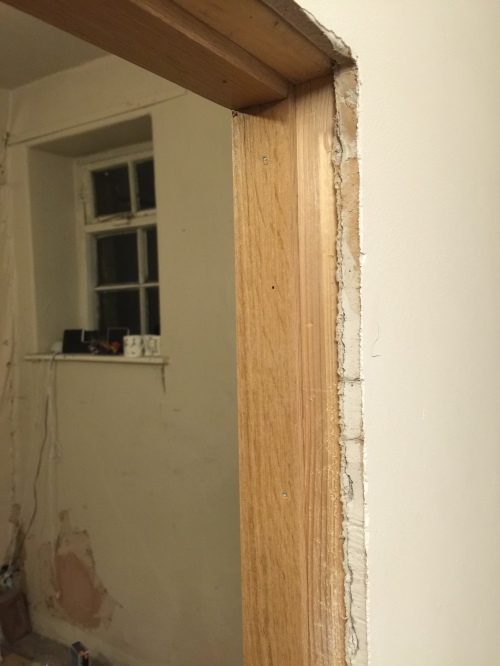
The oak door I built out of the same reclaimed oak floorboards is re-hung and is now home to a cute frog….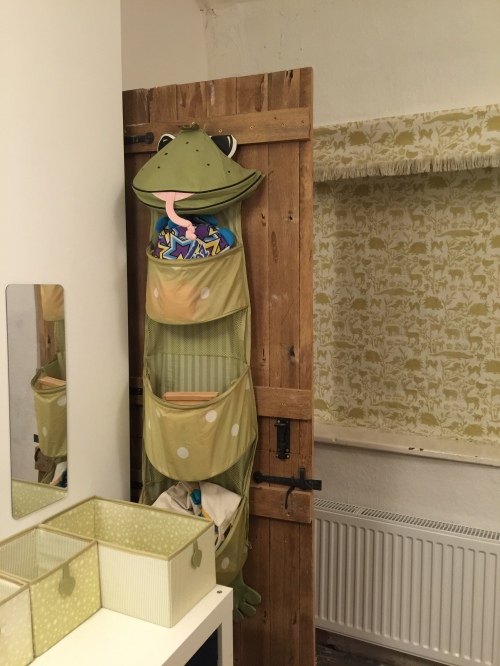
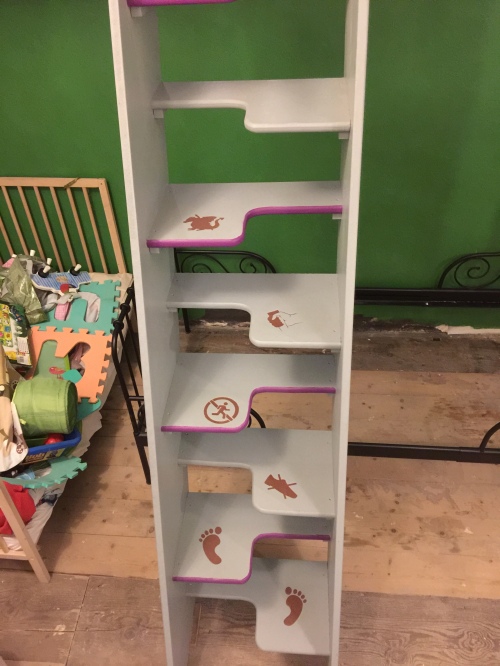
A set of steps to match the overall decor with stencil designs for a bit of extra fun; (excuse the unfinished wall – there was no time to install the skirting boards!)….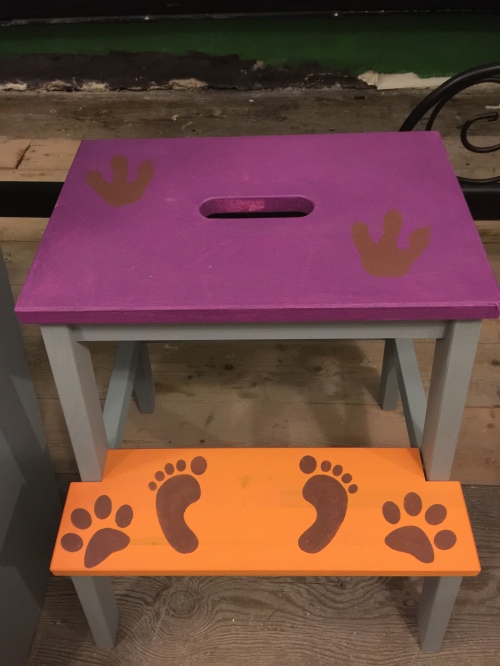
Underneath the treehouse is space for a full size bed and a cot for the littlest ones. Each end of the treehouse has an oak beam which we bought as part of a job lot from a 500-year-old barn that was demolished – more decorative than supportive, but the idea will be that a crook is built up from them towards the stem of the cut-out tree to look like the main tree trunk…..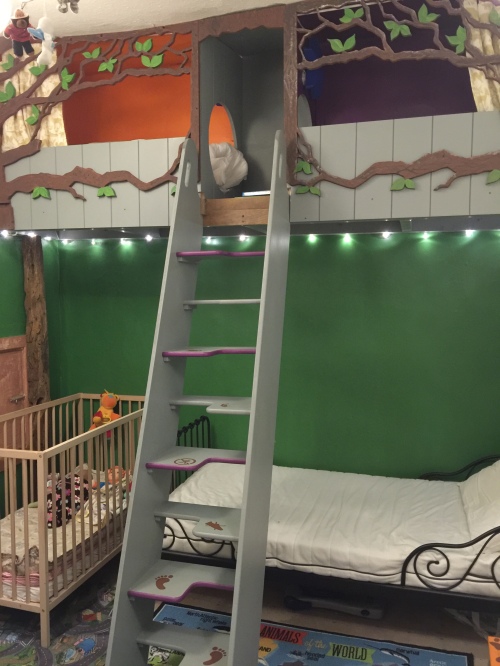
The desk and chair are ready for use. I painted the chalk board frame to match – we inherited it when we bought the old pub; it was used as the specials board and has sentimental value…..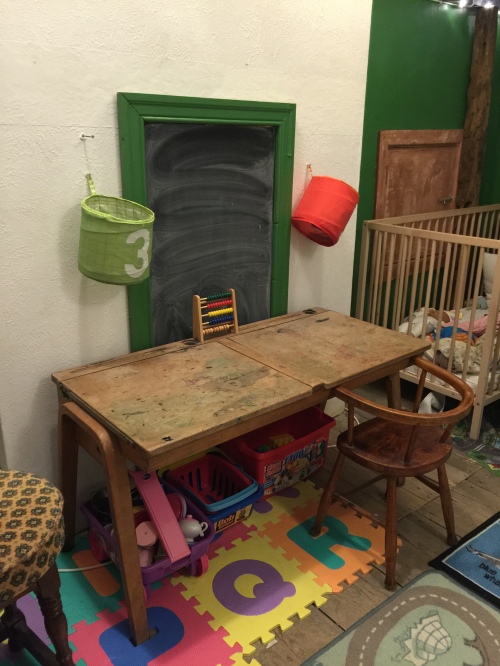
The reading corner is beautifully set off with a hand painted African animal alphabet wallhanging from the wonderful people over at Hidarl.co.uk. Their home products are truly special and all ethically sourced from Africa – so worth having a look…..
And of course, what treehouse would be complete without a swing/hanging seat….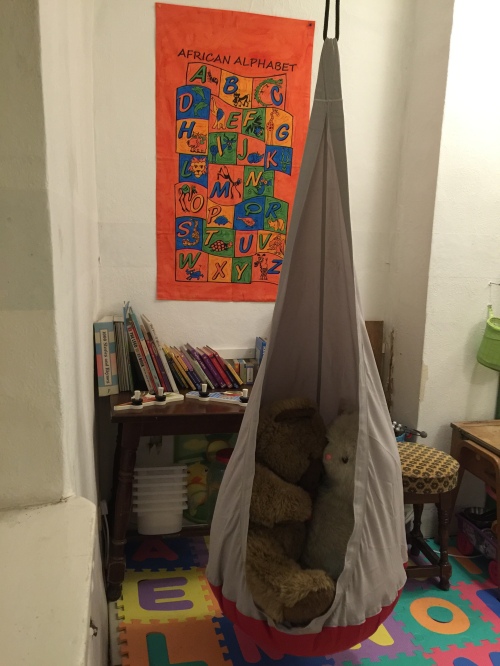
A few stencils on the steps laying down some of the ground rules….Feet Here; No Shoes; No Running; Hold Tight; No Pet Dragons – after all, we wouldn’t want to set the treehouse alight if they sneeze……
Speaking of dragons – here is the one that guards the forest the treehouse is in. He is a friendly dragon….as long as you’re nice – and good!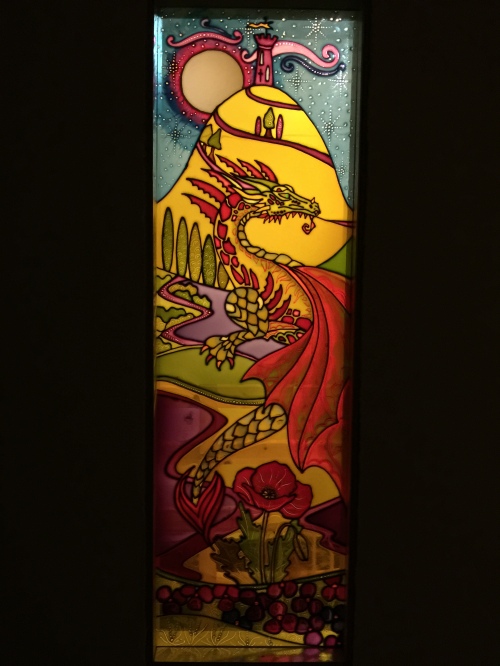
A few things need to be finished off in the New Year, but for the most part we are done.
What a week, but it was worth every minute when we saw the looks of sheer delight on their faces when they arrived for the unveiling.
Now, where do you suppose we could find a few monkeys to come live in the treehouse? Oh, I know….we have 5 already.

Leave a comment